From Logo to Stitch: The Custom Digitizing Process Explained
You have a fantastic logo. It looks sharp on your website, clean on your business cards, and perfect on your storefront. Now, you want to stitch it onto a hat or polo shirt to create professional, branded apparel. But you can't just feed a JPEG file to your embroidery machine. This is where the magic of custom digitizing comes in. This crucial process is the art of transforming your digital logo into a language of stitches that an embroidery machine can understand. It’s what bridges the gap between a flat image on a screen and a textured, dimensional design on fabric.
Think of it like this: if your logo is a photograph, the digitizer is an artist who paints a new picture using only thread. This guide will demystify that artistic and technical process, showing you exactly how a skilled digitizer translates your vision into a stitch-ready file.
Why You Can't Just "Convert" Your Logo
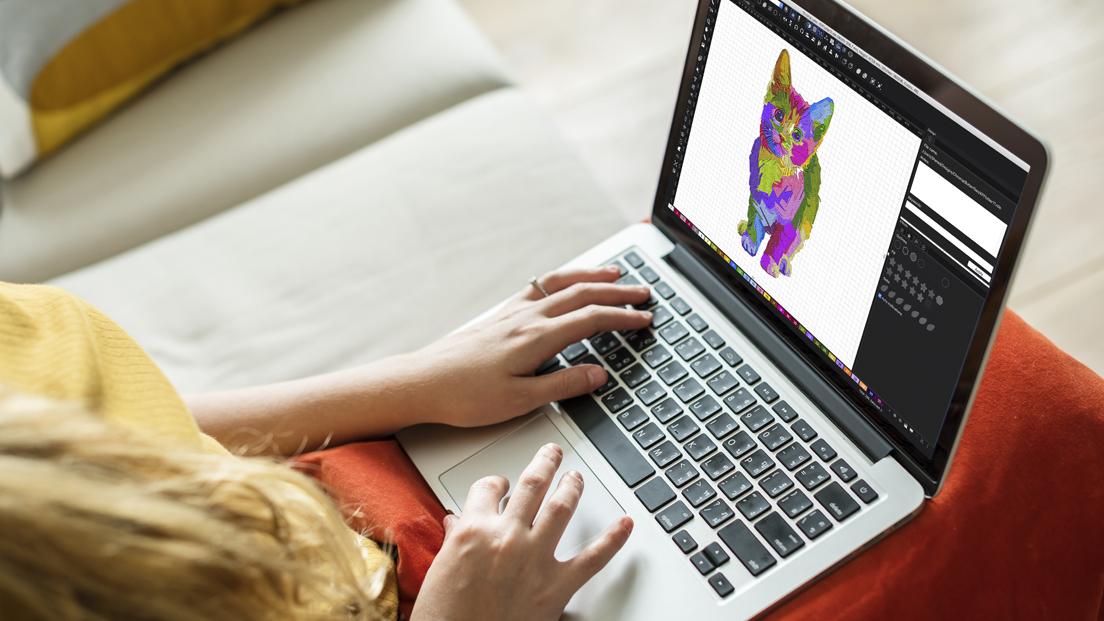
It’s a common misconception that digitizing is a simple, automated conversion. You might imagine software instantly turning pixels into stitches. In reality, this automated approach—often called "auto-digitizing"—almost always leads to poor results.
An auto-digitized design typically lacks the necessary foundation, has inefficient stitch paths, and fails to consider how the design will interact with the fabric. The result is often a puckered, messy, and unrecognizable mess. Custom digitizing, on the other hand, is a manual, thoughtful process. A human digitizer makes critical decisions about stitch type, direction, density, and sequence to ensure your logo looks crisp, professional, and lasts for the life of the garment.
The Step-by-Step Journey of Your Logo
Step 1: Artwork Submission & Consultation
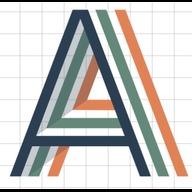
The process begins when you send your logo to the digitizer. The best format to provide is a vector file (AI, EPS, SVG, or PDF). Vector art is made of paths and points, not pixels, so it can be scaled infinitely without losing quality. This gives the digitizer a perfect, clean outline to work from.
If you only have a JPEG or PNG, a good digitizer can still work with it, but it may require an additional step to trace and clean up the image. This initial consultation is also where you specify:
-
The desired finished size (e.g., 3 inches wide)
-
The garment type (a stiff cap requires different settings than a stretchy polo shirt)
-
Your preferred thread colors (often using Pantone or Madeira color codes)
Step 2: The Digitizer's Blueprint - Mapping the Stitches
With the artwork and specs in hand, the digitizer gets to work inside professional software. They aren't just pressing a button; they are strategically mapping out the design. Key decisions include:
-
Choosing Stitch Types: The digitizer assigns the best stitch for each element.
-
Fill Stitches: Used for solid background areas. The digitizer sets the stitch angle and density.
-
Satin Stitches: Used for borders, text, and details. They create a smooth, shiny rope-like effect. The digitizer controls the width and pull compensation.
-
Running Stitches: Used for very fine details and outlining.
-
-
Planning the Stitch Sequence: The order in which the colors and objects are stitched is critical. The digitizer plans a logical path that minimizes jumps and trims, saving time and reducing thread breaks. They typically start with underlying elements and move to the foreground.
-
Adding Underlay: This is the secret weapon of professional embroidery. Before the top stitches are laid down, the digitizer adds a foundation layer of stitches. Underlay stabilizes the fabric, prevents puckering, and helps the top stitches lie smoothly on top of the material.
Step 3: The Proof and Revision Process
Once the digitizer completes the file, they don’t just send it over. A reputable service will provide you with a visual proof. This is an image or animation that simulates how the stitched design will look, showing the stitch types, colors, and sequence.
You review this proof carefully. Check for:
-
Accuracy to your original logo
-
Correct spelling and proportions
-
Correct color usage
This is your chance to request changes. A good digitizing service will include one or two rounds of revisions in their price to ensure you are completely satisfied before you ever stitch it out.
Step 4: The Test Stitch (The True Moment of Truth)
After you approve the proof, the best practice is for the digitizer or yourself to do a test stitch. This means running the file on a scrap piece of the actual fabric you’ll be using. This is the most important quality control step.
The test stitch reveals what the screen can’t:
-
Does the design pucker? This may indicate a need for better underlay or less density.
-
Are the colors perfect? Thread on screen can look different than thread on fabric.
-
Are there any glitches? It catches any tiny errors in the stitch path.
Based on the test stitch, the digitizer can make final tweaks to the file to ensure absolute perfection.
Step 5: Receiving Your Final File
Once everything is approved, you receive your final embroidery file. It will be in the format your specific machine requires—such as DST, PES, EXP, or JEF. This file is now ready to be loaded onto your embroidery machine and stitched out with confidence.
What to Look for in a Professional Digitizing Service
Not all digitizing is created equal. When choosing a service, look for:
-
Experience and Examples: Check their portfolio for clean, crisp designs.
-
A Revision Policy: Ensure they offer revisions based on your proof feedback.
-
Turnaround Time: Most services offer a 24-48 hour turnaround.
-
Clear Pricing: Pricing is usually based on the number of stitches in the final design.
-
Communication: They should be easy to contact and responsive to your questions.
Conclusion: Invest in the Foundation
Custom digitizing is not an extra cost; it’s a fundamental investment in the quality of your embroidered products. A poorly digitized design will waste time, ruin garments, and present your brand poorly. A professionally digitized design will stitch smoothly every time, look incredible, and withstand repeated washing.
By understanding this process, you can appreciate the skill involved and make informed decisions when preparing your logos for embroidery. Remember, the quality of your stitch-out is directly tied to the quality of the digitizing. Don't let your awesome logo get lost in translation—invest in great digitizing and watch it come to life in thread.